Background Characters and Background Panning
Background characters can be very useful in any story that has a restaurant. Club, red carpet, etc. Background panning can be very useful as well to switch to different parts for your scene. We will not be learning about timed panning or animations for your characters today as you will learn that later on. We will be learning about Background Characters and Background Panning today.
Background Characters:
Background characters have become apart of episode stories and episode has made it easier to create background characters now. Before episode released the Random Character Generator (2018) every author had to create all their background characters by scratch or use the default characters episode has created. I will teach you both methods today in case in the future episode removes the Random Character Generator.
The Random Character Generator:
I call episodes feature for creating any character the Random Character Generator because it is a fun way to remember it. If your in the middle of your story and think “awe man, I need some background characters.” Then look no further to this nifty trick. Here is how it works.
1.) If your creating just a background character use this abbreviation (This is what I do.) BCK1. You can have them either stand at a spot or say something. For this example I am going to have the background character talk.
2.) Next, click on the “Save” button on the top right corner of your screen.
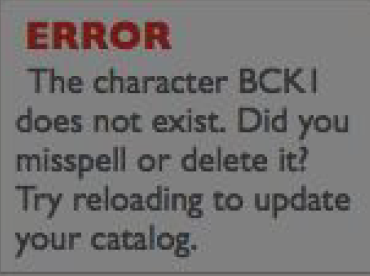
3.) You will see an error for a split second that says this:

You will see beside it another box that will appear. This is where you can pick the gender, if it was another character you already created, or you can skip it overall. This is what the box should look like:
Today I am going to make this background character a female but you can choose the gender of your background character. Once you have selected the gender click the “Continue” button.
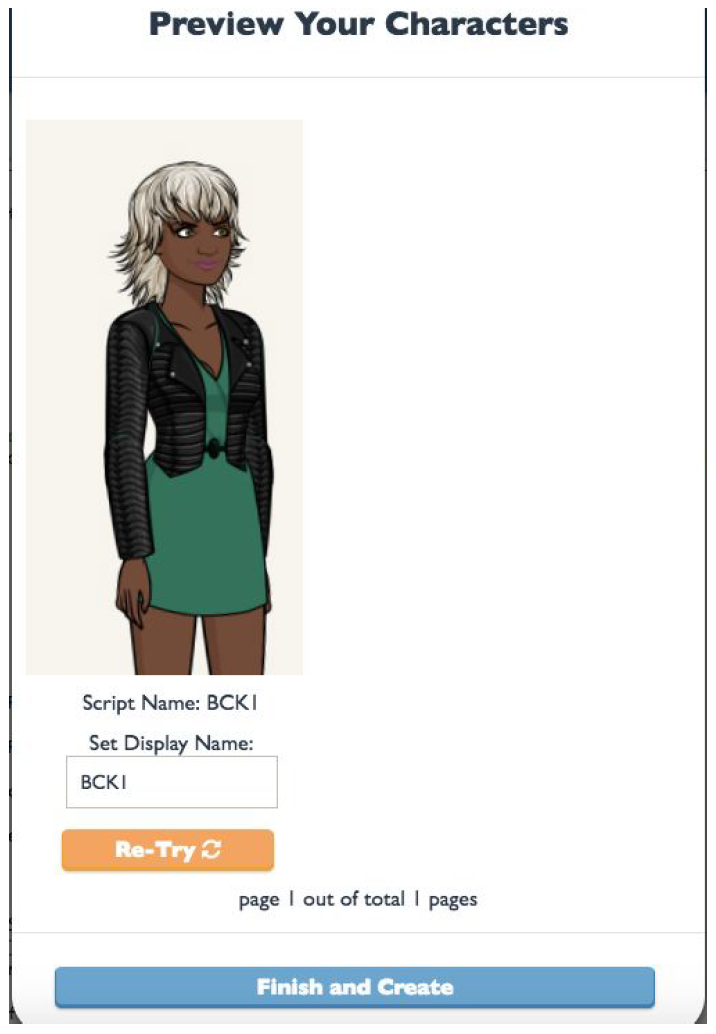
4.) After selecting the gender for your background character You will see this screen appear (except with the gender you selected.):
In this screen you can change the display name of your background character to whatever name you like along with randomly changing its look. I’m going to name this background character Yuki and click the Re-Try button to change her look. NOTE : you can have however many background characters you like. One preview page will show three random generate characters; if you create more than three random generated characters there will be more than one page.
5.) Once you’re satisfied with your background characters look click the “Finish and Create” button and your background character will be created. This is random generated character I ended up with for my background character named Yuki.

Now the other way to create your background character is easy. On your portal screen before going into your story script your going to hit the “Character” button. It should look like this:

1.) First your going to click on the “New Character” button on the left hand side of your screen. It should look like this:
2.) Next you’re going to name the character “BCK2” and select the opposite gender you selected last time. There is a list of actors you can select by either there name or you can click on their picture on the right hand side. Since last time I selected a girl I will select a guy this time. Your screen should look similar to this:
3.) Once your character is created you will be brought back to your character screen. It should look like this: From there you can change the characters display name, and appearance. Take the time to make your background character look the way that you want them to. I am going to name my background guy character Toby and change his appearance. In this tutorial as well I am going to keep his original outfit. OPTIONAL : You can change their outfit if you like to simply by clicking the “Go To Outfits” button finding the BCK2_default outfit name and picking your clothes for the character their.
4.) Once you are done customizing your background character click on the button that says “Save Changes” (you can find the button in the previous picture. This is what the final look for my background character named Toby looks like now:
That is how you create any background character you like is with these two options. Now to place them in a scene you will have to spot direct. You will have to know your zones and the next part will help with that.
Background Panning:
Background panning is not as easy as it appears to be. First of all almost every scene has three zones. The reason I say this is because some scenes (depending on which ones you choose) can have 4 zones or 2 zones. Background panning can be done in two different ways:
Way 1:
To pan to a zone you just type the word pan and you can either click on the bolded words that say pan to zone or you can type the words to zone after your previous word pan . It should look like this:
If you do click the pan to zone by default the zone will automatically be 1 like in the picture here:

if you chose to type the words then you can pick from zones 1 to 3 . Now that is how you pan to any zone in your scene.
Way 2:
An alternative way to pan to a zone you just type the word cut and you can either click on the bolded words that say cut to zone or you can type the words to zone after your previous word cut . It should look like this:
If you do click the cut to zone by default the zone will automatically be 1 like in the picture here:
if you chose to type the words then you can pick from zones 1 to 3 .
Now a Bonus to spot direct your characters in a zone will be a challenge. The easiest way I can help you is by telling you this. How to spot direct is simple. On your previewer or phone your going to see a light button on the right hand side of either your previewer or phone when testing your story. Click on the button called Directing Help which looks like this :
Once you click on that button your going to see a bar where a few options appeared at the right hand bottom side of the screen.
Your going to look for a button that says “spot helper” like this:
Click on this button and you will see a bar like this appear on the left hand side:
The button that says Switch tool: Move can also be toggled to be your character Scale as well. So your screen should look like this:
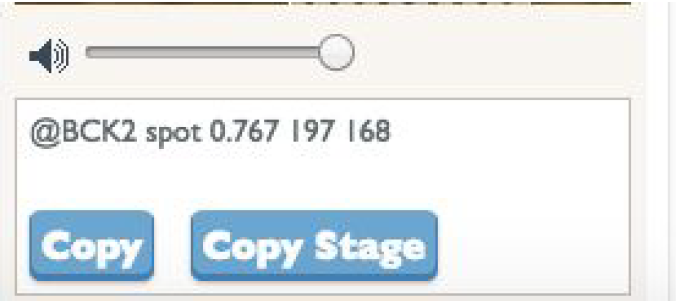
Since I’m using the previewer on my computer below the Previewer has the spot directions below it that look like this:
The three numbers that follow are the size of your character, and their coordinates. To break it down it is like this:
@BCK2 spot 0.767 (size of character), 197 (X Coordinate), 168 (Y Coordinate)
Together the size of the character and coordinates tell you the author the location and size of your character. You can mess with this to see how big, small, upside down or right side up your character will be.
Try the below whenever you’re trying to spot direct for zones.
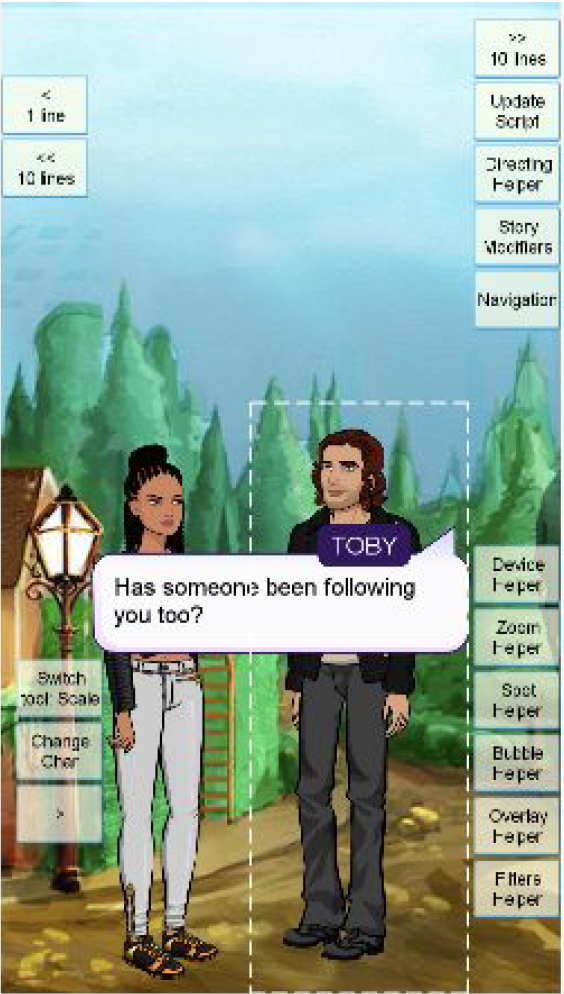
Once you have your characters enter the scene you can spot direct them (either using the previewer on your computer or phone) to the correct spot you what them to be. Once in the correct spot change there commands to the spot. Like this:
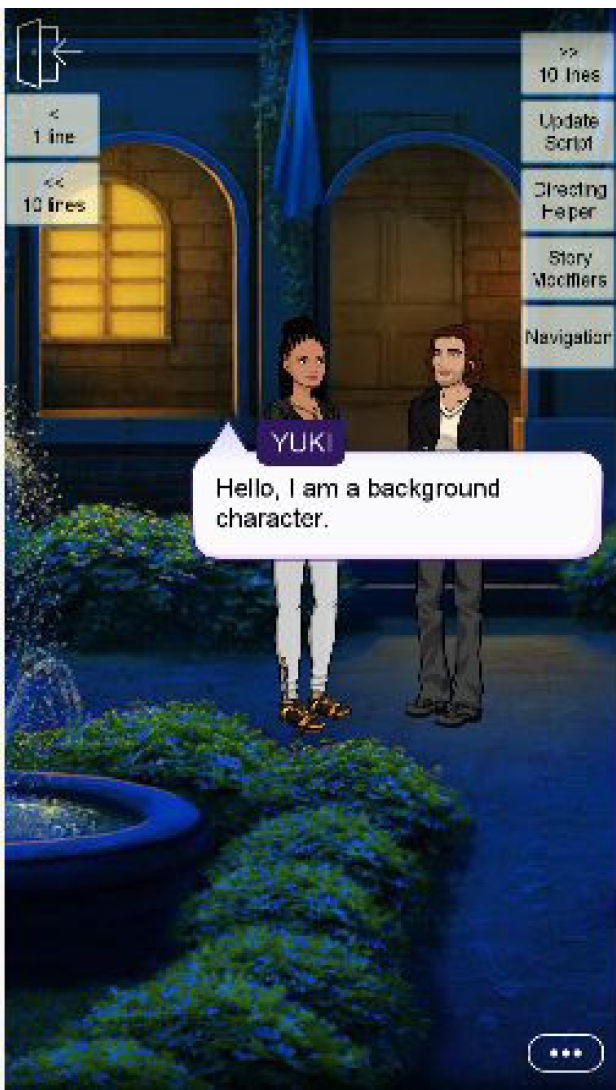
NOTE: Make sure your characters are facing the correct way or else it will look like they are talking to empty spaces in a scene. Should look like this:
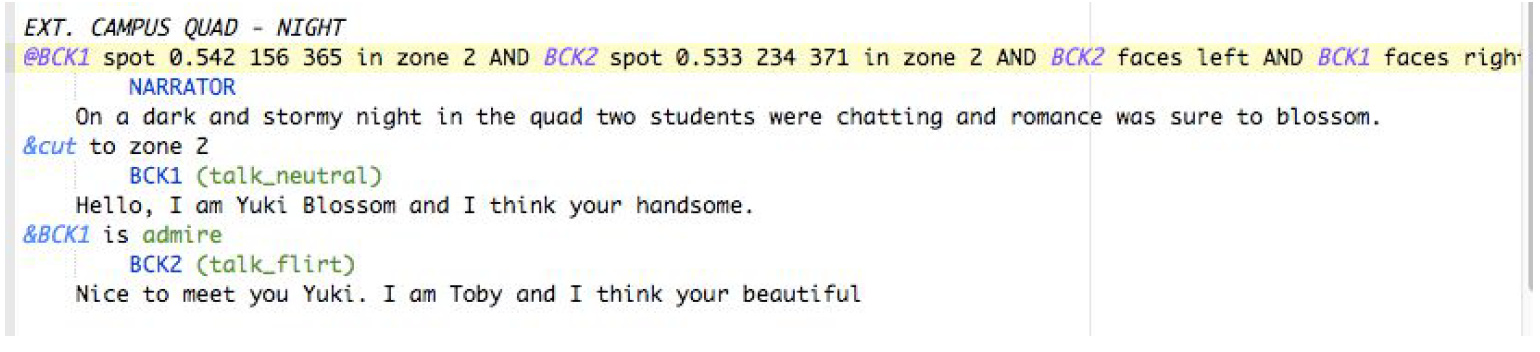
Now to make things a little more fun I am going to remove the pan and add at the end of my spot direct in zone 2 . This should show the characters in the correct spots in zone 2. If done properly your script should look something like this:
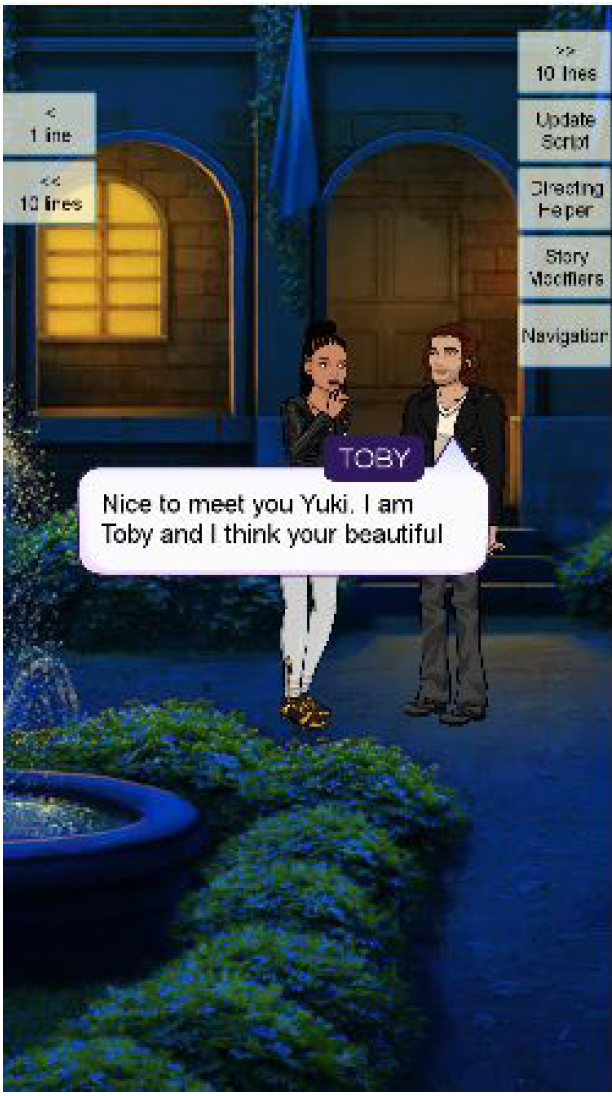
Now your visual result should look a little something like this:
I hope you enjoyed this How To. This also works in the Episode Limelight style as well but not in Episode Classic style.
Have a good day everyone and I hope this information was useful to you.
Creator: Sylvia Eve
Stories:


COMMENTS
i found when saving i copied INT. but when it saved to the computer it would some times change the saved text to INT_ its important that all backsgrounds start with either INT. or EXT. followed by background name ie. background outside should be written EXT. HOLLYWOOD SIGN-SUNSET
ive found it best to copy and paste so its copied direct from episodes art catalog:backgrounds
I believe Episode Scenes always start with EXT. & INT. It has to be in that format I believe in order for your background to populate. If the Computer changed it to (_), It’s okay to change it to (.) I had the same issue as well.
None of the backgrounds here work in my story. What am I doing wrong?
Hey! I had the same problem too. You have to Right Click to save Image to your computer. When you do Save the Image, Make sure the (EXT.) or (INT.) is preset has the (.) in the Save Bar. Once you save it, You have to use: Simple Image Resizer. It helps to Resize the Image to make it fit with Episode Sizing. You can go on Google in type in Simple Image Resizer & use the Correct sizing Measurements (Width is 1920 & Height is 1136). Once you Resize it, Download the Image the same way you would do for these Backgrounds. Then Upload it to your Background Catalog.